
The App Store Nightmare: Surviving the iOS App Review Process and My Brutal Cost Breakdown
The finish line was right in front of me. After barely escaping the endless loops of coding purgatory and data cleaning hell, I thought I could finally relax and celebrate my upcoming launch. But standing right in my way were the twin titans of the tech world: Apple and Google. Honestly, compared to what was waiting for me here, my previous development struggles felt like a walk in the park. At one point, I genuinely spiraled into a mini existential crisis, thinking, “Did I mess up so badly that I have to rebuild this entire thing from scratch?” or “What if my app never sees the light of day?” If you are about to navigate the iOS app review process or dreading the infamous Google 14-day testing phase, pull up a chair. Here is the raw, unedited story of how I survived, along with a transparent look at my total solo app developer cost.
The iOS App Review Process: An iPad Crash When I Don’t Even Own One?
First things first, I discovered that Apple demands an annual subscription fee just to keep your developer account alive. While the $99 price tag (which ballooned to $108 with taxes) gave me minor sticker shock, I chalked it up as the cost of doing business. I set up my Apple Developer account, submitted my app with my head held high, and naively expected a smooth approval within 48 hours.
Instead, I woke up to a bright red notification in my inbox: Rejected.
Apple’s review team stated that the app instantly crashed on an iPad during the Apple ID login sequence. I was completely baffled. I don’t even own an iPad! It worked flawlessly on my physical iPhone, and even my Xcode iPad simulators showed zero issues. Left with no clues, I immediately summoned my ultimate virtual supervisor, “Manager Claude.” We spent days upgrading packages, rewriting backend logic, and blindly resubmitting—only to get slapped with an app store rejection three times in a row.
Desperate, I stopped guessing and started aggressively digging through developer forums. That is when I found the hidden trap: in Xcode under the Signing & Capabilities section, you cannot just add “Sign in with Apple” to the master ‘All’ tab. You have to manually expand and inject it into all four separate build targets individually. After fixing this microscopic oversight, I still couldn’t sleep out of pure anxiety. I begged a friend who owned an iPad to run a physical test, and when the login screen finally loaded smoothly, I almost burst into tears.
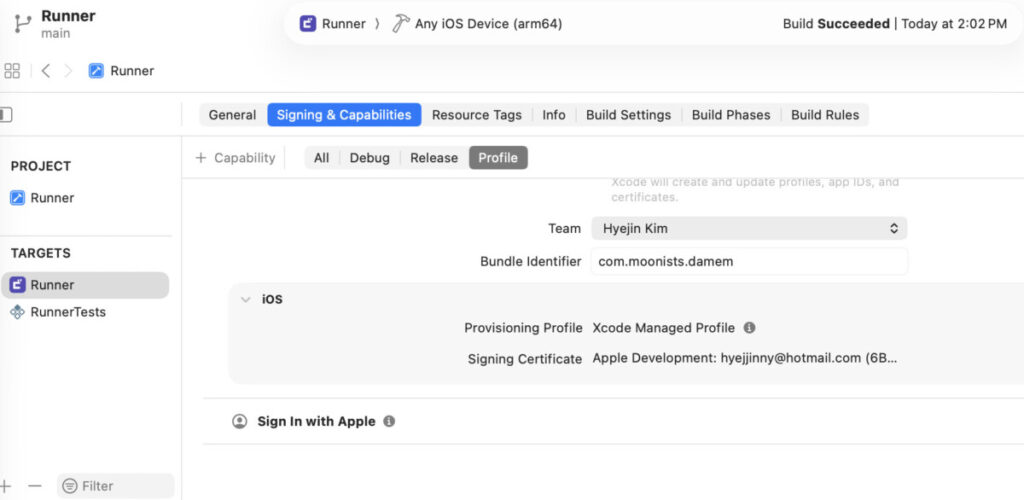
It took a solid week of rejection loops just to figure out that one setting. Seeing that beautiful green “Approved” badge was one of the most emotional moments of my life.
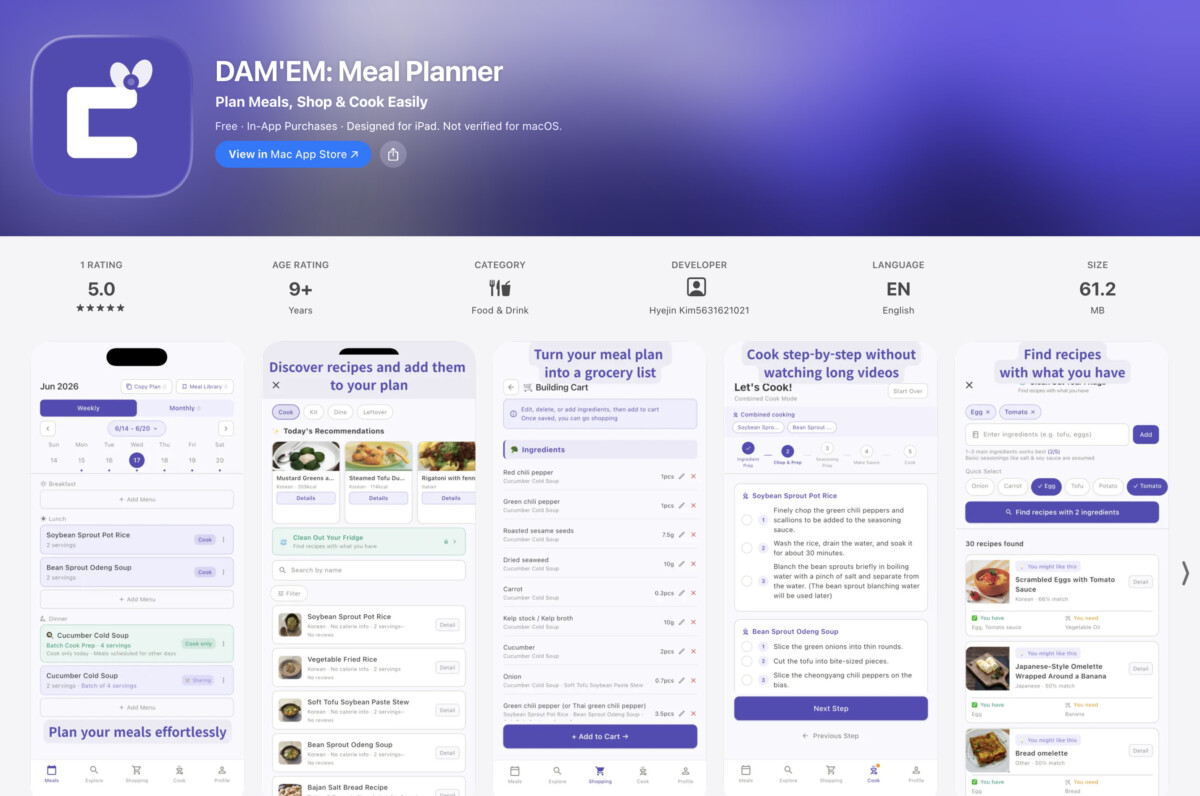
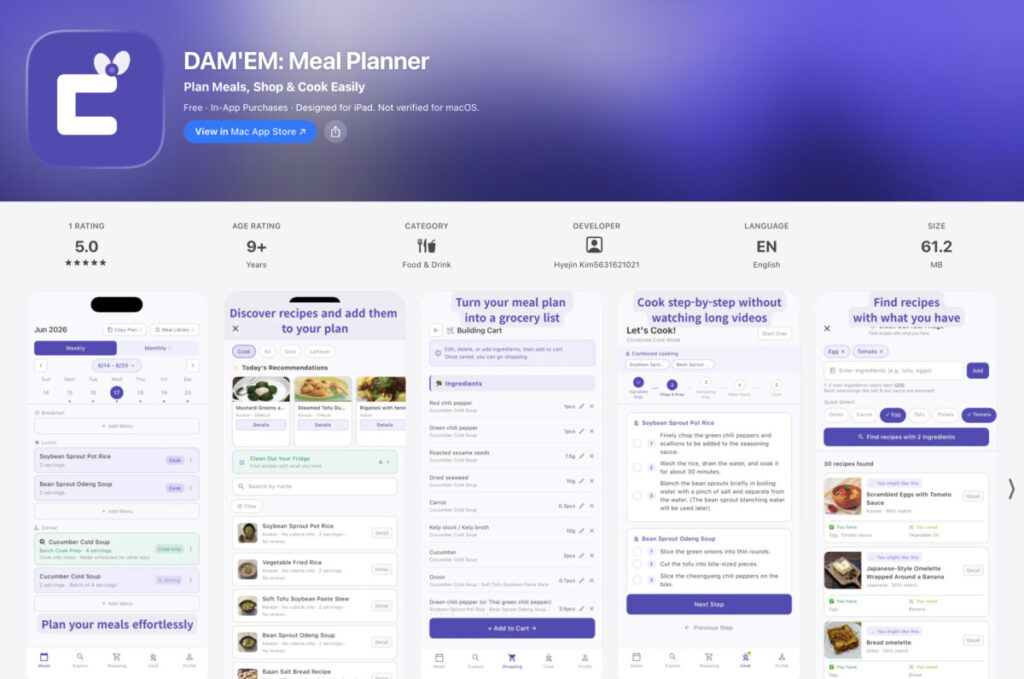
👉 [It’s Finally Live! Check out Dam’em on the iOS App Store]
Google Play Closed Testing: The Limits of Friendship and the Upwork Savior
If Apple was a psychological thriller, Google was a straight-up horror movie. This was the exact chapter where I actually had my first major blowout argument with my AI coding companion. On paper, Google seemed like the nicer sibling—you pay a one-time $24 fee, and you get a lifetime developer account. I thought I was in the clear.
Then, I hit the brick wall known as Google Play closed testing.
Before Google lets you launch globally, they force you to recruit at least 12 testers who must remain opted-in to your app for 14 consecutive days. As an indie creator working across borders, finding 12 Android-using friends who would diligently interact with a niche meal-planning app every single day was nearly impossible.
My AI “manager” tried to comfort me with outdated pre-2026 data, claiming, “Just register 12 to 20 emails; as long as the time passes, Google will automatically approve the production release.” I foolishly trusted this advice, gathered my friends’ emails, and waited out the 14 days. A few incredibly kind friends actually downloaded the app and helped me patch minor bugs along the way. But on day 15, when I proudly applied for production access, Google rejected it within three days due to “low tester engagement.”
Two whole weeks of Google Play Closed Testing, completely wasted. I was furious at my AI companion for the bad intel. Facing the grim reality that my app might die in internal testing loops, I turned to the freelance marketplace to find a reliable app publishing agency or testing group. I paid a specialized service provider on a freelance platform to fill all 20 tester slots with active devices. They didn’t just hold the app; they provided real device feedback, left structured comments, and triggered app updates. According to the agency, Google’s modern algorithm looks for a specific three-step activity footprint: [Gathering active user feedback ➔ generating app store engagement ➔ pushing an optimization update]. Paying for professional testing unlocked the bottleneck instantly. It was a swift, humbling lesson in the power of outsourcing.
Breaking Down My Total Solo App Developer Cost
After crawling out of the 마켓 심사 (store review) trenches, Dam’em has been live on the Apple Store for two weeks, and we are currently on day 7 of the revised Google testing phase. The internet is absolutely flooded with clickbait like “Build an App in 10 Minutes for Free!” or “No-Code Millionaire in One Week.” Let me give you a reality check based on actual data: it took me exactly 4 weeks to build the core infrastructure, and another 2 weeks to fix rejections and stabilize the deployment. That is 6 weeks of high-intensity labor.
And as for the financial reality? Here is the fully transparent expense report of my solo app developer cost:
- 🍏 Apple Developer Program Fee: $108/year (An ongoing, mandatory expense)
- 🤖 Google Play Console Fee: $24 (One-time lifetime access)
- 🧠 Claude Pro Subscription: $22 × 2 months = $44 (My tireless co-pilot’s salary)
- ⚡ Claude Extra Capacity Credits: $45 × 2 months = $90 (
- Because I hit the weekly AI usage limits twice while compressing a 6-month timeline into 30 sleepless days)
- 📊 Claude API Tokens (Data Parsing): ~$18 (To scrub and standardize those 2,000 messy raw recipes)
- 🌐 Claude API Tokens (Localization): ~$10 (To fix translation bugs, like accidentally turning Korean tuna extract into anchovy fish sauce)
- 🤝 Freelance Closed Testing Service: ~$50 (The miracle cure for my Google Play stagnation)
💰 Total Out-of-Pocket Expenditure: Approximately $340 USD
If I had handed my wireframes over to a traditional development agency, this project would have easily cost thousands of dollars. While I achieved incredible financial efficiency by leveraging AI and my own sweat equity, seeing those dollar amounts rack up on my credit card statements still made my stomach turn. Ultimately, though, seeing my own intellectual property live in the global marketplace makes it worth every cent. It wasn’t just development spending; it was tuition for an invaluable real-world tech education.
Naturally, you might wonder about the ongoing maintenance overhead. Moving forward, I have the recurring annual Apple fee. If our community grows significantly, I will need to scale our Supabase backend infrastructure to a premium tier to handle heavier database traffic. Furthermore, because Dam’em relies on real-time language localization and automated AI data pipelines, adding new batches of recipes will incur minor, incremental API token charges. My fingers are crossed that we gain organic traction soon so the app can become entirely self-sustaining!
In our final chapter (Part 5), I will take you on a deep-dive tour of Dam’em’s core features, explaining how a non-technical creator transformed deep household intuition into a streamlined mobile user experience. I will also share my raw personal reflections on shifting from a passive consumer to an active indie software maker. Thank you for following this chaotic journey, and I’ll see you in the finale!
Missed the earlier chapters of the Dam’em development saga? Catch up here: