
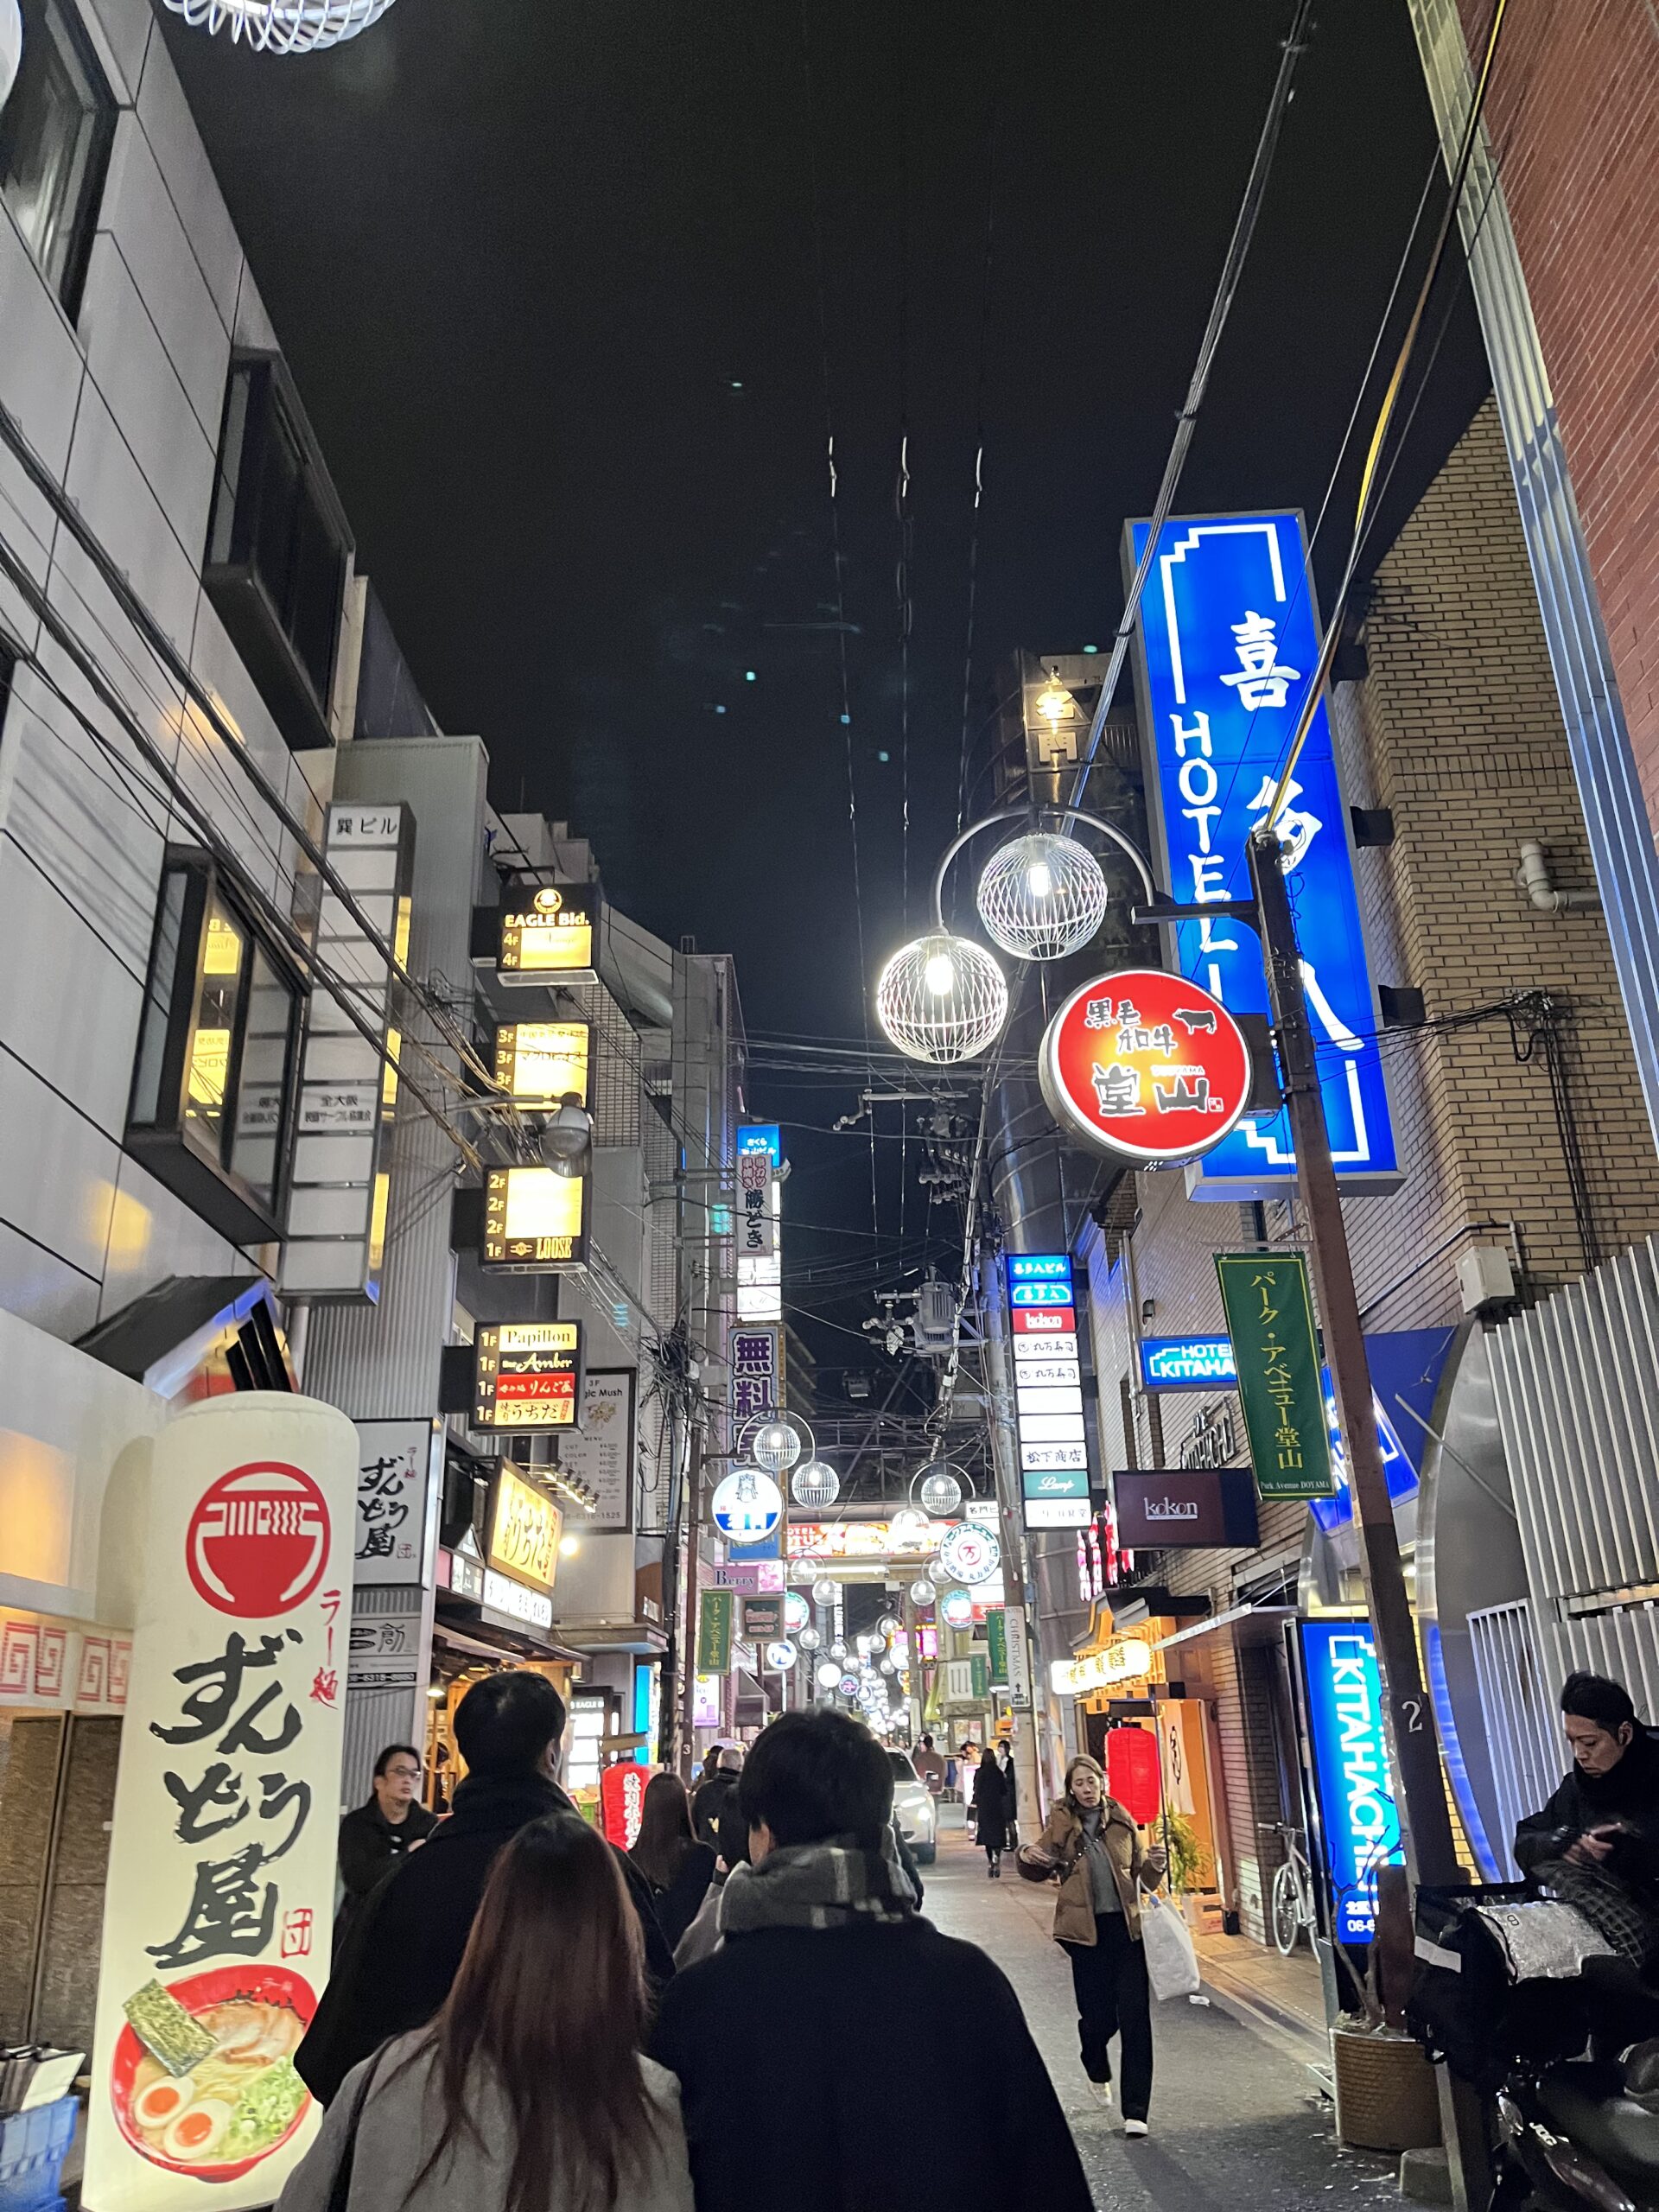
Osaka Travel Guide #1: A Pro Traveler’s Entry Formula—From Visit Japan Web to the Limousine Bus
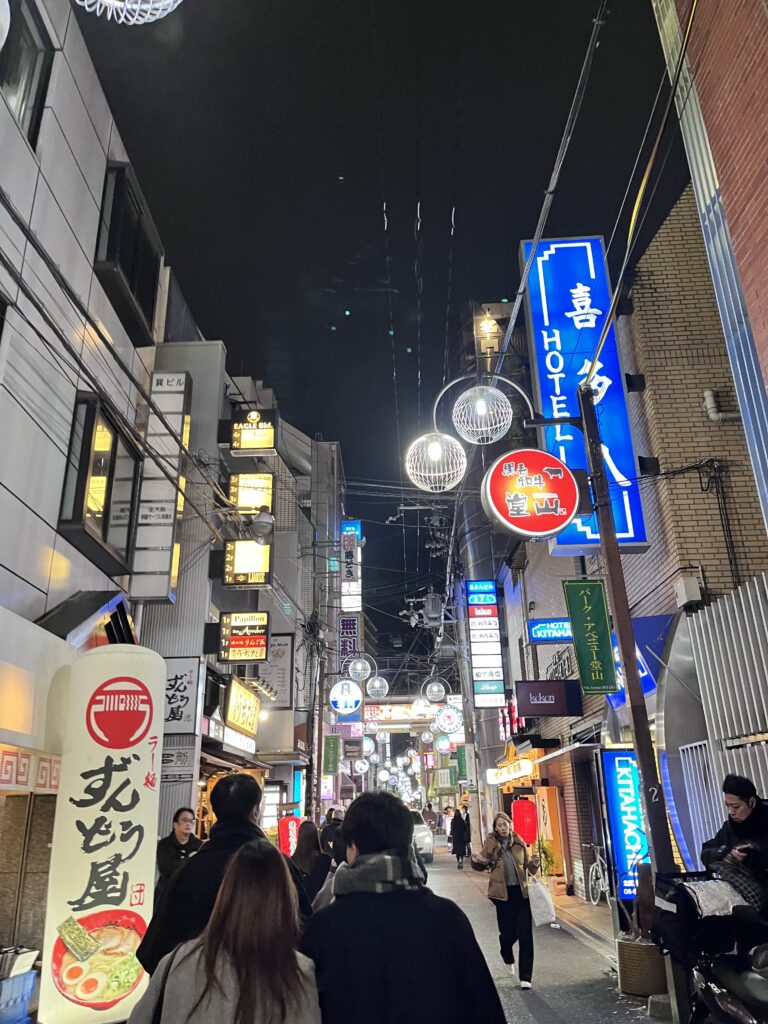
An Osaka Travel Guide is something I’ve wanted to write for a long time since moving to the West. Living away from Asia for so many years made me miss the vibrant energy of Japan, especially Osaka, the ultimate destination for food and culture. When I lived in Korea, I often visited Tokyo or Fukuoka, especially for market research trips. This time, returning to Osaka felt like a long-awaited homecoming, and I’m so excited to share every detail of my journey with you.
Have you booked your flights and accommodation? If so, the next step is ensuring you don’t get lost on your first day. Let’s dive into the pro-tips for a smooth entry into the city without the usual arrival stress.
Essential Pre-Arrival Preparation with Visit Japan Web and the Kiosk Trap
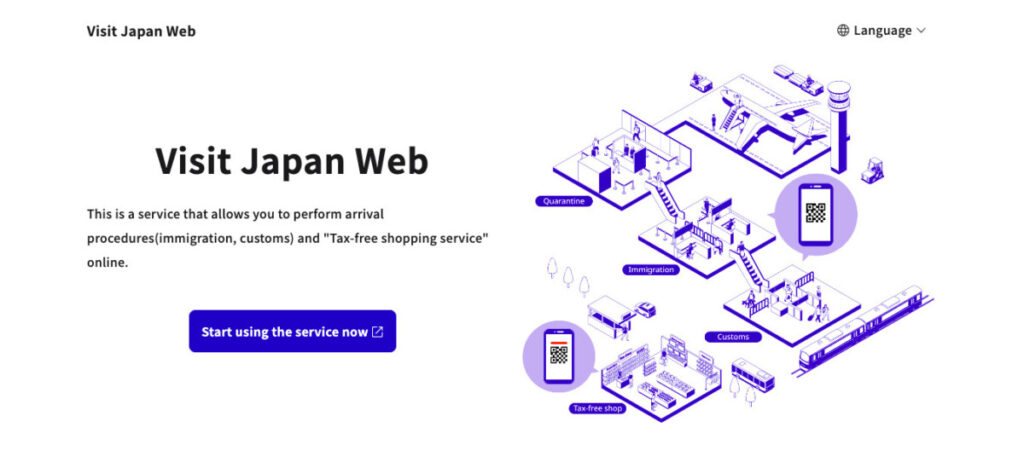
What’s the difference between an amateur and a pro traveler? I believe it’s all about how quickly you can exit the airport and reach the city center. While Japan offers visa-free entry for many countries, if you end up exhausted from waiting in long immigration lines, you’re still in the amateur league! To avoid this, registering on Visit Japan Web is an absolute must-have for your Osaka Travel Guide checklist. By pre-entering your info and capturing the QR code, you can breeze through the process much faster than those fumbling with paper forms.
However, there is a hidden trap! Even with the QR code, I was stopped while walking confidently toward the exit. The staff pointed me toward a blue kiosk behind me. It turns out you must register your passport and QR code at this specific kiosk for customs declaration. After scanning your QR, your passport, and completing the facial recognition, the automatic doors finally open to Japan. Don’t be embarrassed like I was—head straight to the kiosk first!
Getting to the City Center: Why the Kansai Airport Limousine Bus to Umeda is a Game Changer
Once you’re out, the big question is: “How do I get to the city?” Most people think of the blue Rapi:t express train, but since my accommodation was in the Umeda area, the train wasn’t the best fit. The Rapi:t only goes to Namba, meaning I’d have to drag heavy suitcases through transfers to reach Umeda.
This is why I chose the Kansai Airport limousine bus without a second thought! The thought of navigating stairs and transfers in a complex Japanese subway station on my first day was a nightmare. If you consider yourself a bit directionally challenged, I strongly recommend taking the bus for your first trip into the city. Here’s a quick comparison of your options:
- Limousine Bus: Offers various routes, meaning you can often reach your destination (like Umeda) without any transfers. They handle your luggage for you, making it the most comfortable option. Just keep in mind that traffic can be heavy during rush hour.
- Rapi:t Express: Fast (38 mins to Namba) and comfortable with reserved seats, but requires a transfer if you’re heading to Umeda, which can be tiring with heavy bags.
- Airport Express Train: The cheapest option, but it’s a regular subway with no reserved seating. You might have to stand for 45 minutes, and there’s a high chance of getting lost while finding your hotel from the massive station.
Solving the Transit Card Puzzle with ICOCA Card and Apple Pay Convenience
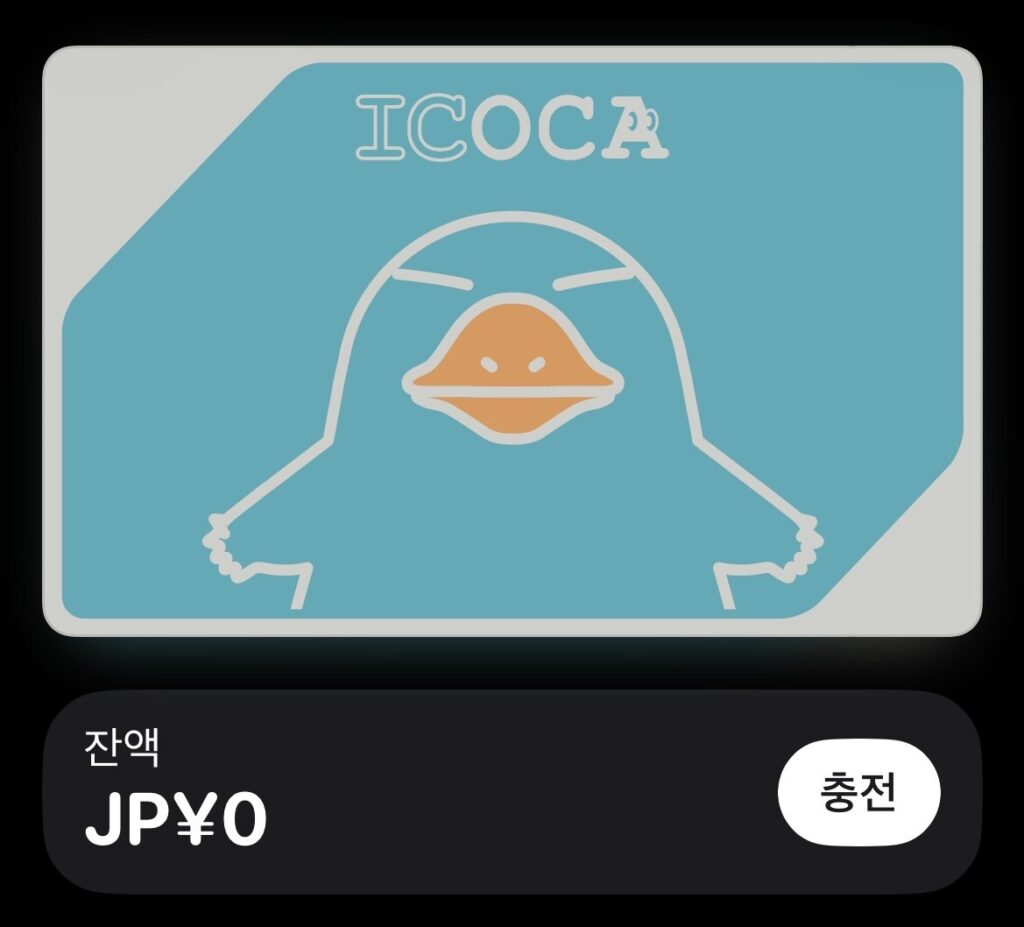
Japanese transit passes can be confusing, but these days, I just stick with the ICOCA card. For iPhone users, it’s incredibly simple: just search for ‘ICOCA’ in your Apple Wallet and add it instantly. Charging it beforehand saved me so much time at the airport. This is a top-tier tip for any Osaka Travel Guide.
One more “pro” tip: set your ICOCA card as your ‘Express Card’ in Apple Pay settings. This way, you don’t even have to wake your phone or switch cards at the turnstile—just tap and go. I forgot to do this at first and accidentally caused a mini-rush hour jam, which was quite embarrassing! If you can’t use Apple Pay, you can easily get a physical card at the airport for a 500 yen deposit. As you may know, in many Asian countries, transit cards are widely accepted at convenience stores for quick payments—and Osaka is no exception! You can use your ICOCA card at most convenience stores, so don’t stress too much about having an exact balance.
The Importance of a Smooth Arrival for a Great Start to Your Journey
I still remember my very first overseas trip—the pounding heart during immigration and wandering the airport like a lost soul. While those clumsy moments become memories, arriving at your hotel smoothly makes you feel like luck is on your side. I truly hope this Osaka Travel Guide makes your first steps in Japan lighter and more joyful! Choosing the right path through Japan’s complex transport system based on your own situation will make your journey much more enjoyable.
Planning a trip to New York instead of Japan? If so, I highly recommend checking out my guide: [JFK Airport Shuttle & Uber/Taxi Guide: Terminal Pickup Locations, Costs, and Tips (2026)]. It will help you navigate the busy New York airport just as easily!